No-Fuss Peppermint Fudge: Effortless Steps to Sweet Bliss
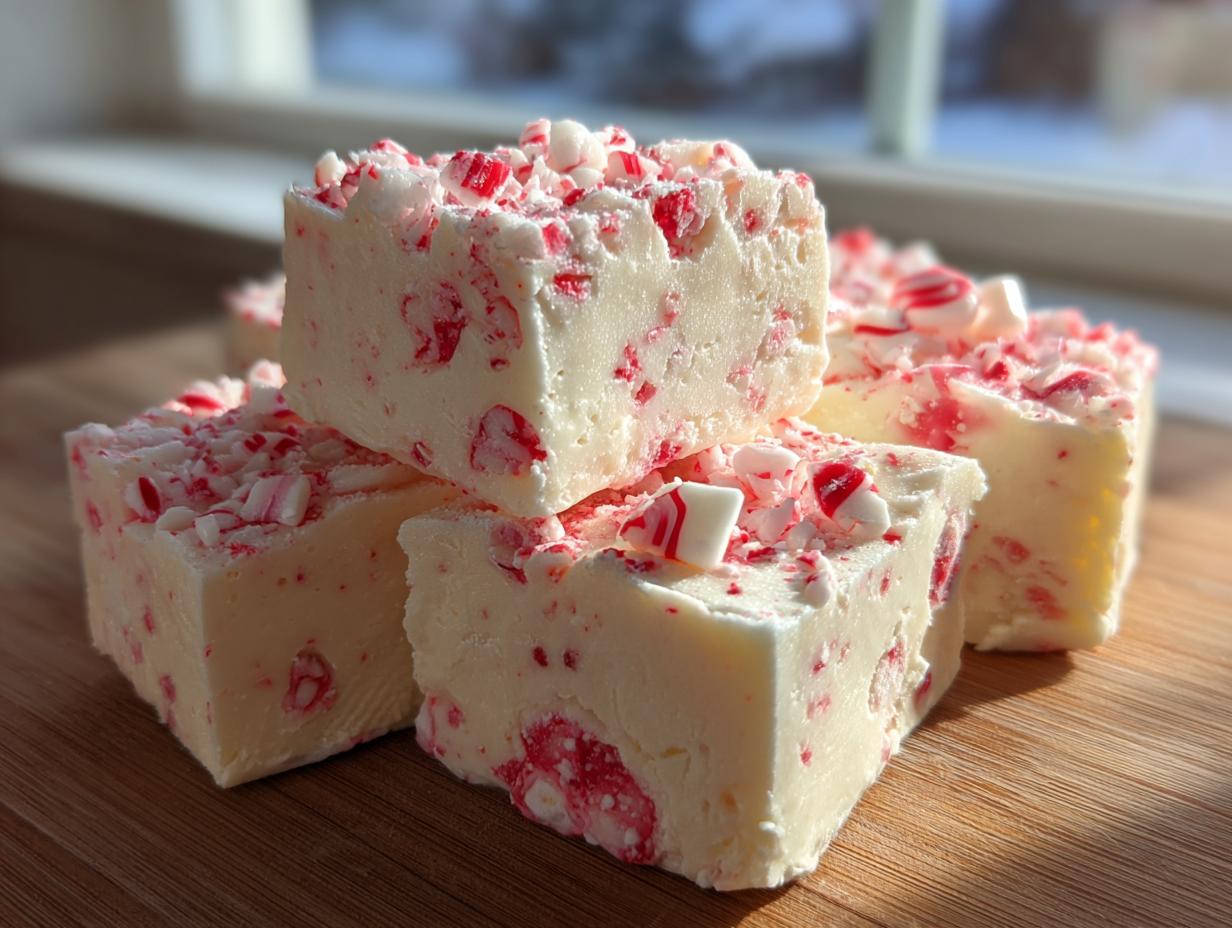
Imagine a decadent, melt-in-your-mouth treat that combines rich chocolate with a refreshing burst of peppermint. Now, imagine making it with such remarkable ease that you'll wonder why you ever bothered with complicated confectionery. Welcome to the world of no-fuss
peppermint fudge, a recipe so simple, so foolproof, it’s practically magic. This isn't just a holiday indulgence; it’s an anytime ticket to sweet bliss, proving that extraordinary flavor doesn't have to come with extraordinary effort.
For many, the word "fudge" conjures images of candy thermometers, precise temperatures, and hours spent stirring over a hot stove. But what if we told you that creating luscious, creamy peppermint fudge could be as straightforward as melting, stirring, and letting it chill? This article will guide you through the effortless steps to achieve this chocolate peppermint wonderland, demystifying the process and revealing why this particular recipe will become your new favorite.
Why No-Fuss Peppermint Fudge is Your New Go-To Treat
There's a special kind of joy that comes from creating something delicious with your own hands, especially when the process is as enjoyable as the outcome. This no-fuss peppermint fudge recipe embodies that joy perfectly. It strips away all the intimidation typically associated with fudge-making, leaving you with a streamlined approach that yields impressive results every time. Forget about the fussy techniques and demanding equipment; all you need are a handful of common ingredients and a bit of patience (mostly for the chilling process!).
This fudge isn't just easy; it's incredibly versatile. While its festive colors and minty kick make it an absolute showstopper during the winter holidays – think Christmas parties, homemade gifts, or a cozy evening by the fire – its appeal transcends seasonality. Who wouldn't appreciate a square of delightful chocolate peppermint goodness on a random Tuesday in July? It’s a pick-me-up, a celebration, and a comforting treat all rolled into one. Whether you're looking for a quick dessert to impress guests, a delicious homemade gift, or simply a well-deserved indulgence for yourself, this easy peppermint fudge fits the bill. It's truly a taste of "fudge heaven" without the accompanying culinary stress.
The Magic Behind the Melt: Essential Ingredients & Simple Steps
The secret to this impossibly easy peppermint fudge lies in its minimalist ingredient list and straightforward technique. You don't need a gourmet pantry or special skills; just a few key components that work harmoniously to create a rich, smooth, and utterly satisfying treat.
Gathering Your Simple Arsenal
At its core, this amazing peppermint fudge requires just two primary ingredients for the base, plus the star flavor enhancer:
*
High-Quality Chocolate Chips: While semi-sweet chocolate chips are a popular choice for a balanced flavor, feel free to experiment. Dark chocolate chips will yield a richer, more intense fudge, while milk chocolate chips will result in a sweeter, creamier texture. The better the quality of your chocolate, the more luxurious your fudge will taste.
*
Sweetened Condensed Milk: This is the unsung hero of no-bake fudge. It provides both sweetness and that signature creamy, fudgy texture without any complex sugar cooking. As a practical tip, consider keeping a can of sweetened condensed milk in your pantry at all times – it’s a secret weapon for many quick desserts!
*
Peppermint Candies: Crushed peppermints are what give this fudge its characteristic zing and a delightful textural crunch. Traditional red-and-white striped peppermints are perfect, but you can also use candy canes.
Beyond these, a little butter or cooking spray for your pan, and perhaps a touch of peppermint extract for an extra flavor boost (though often not needed), are all you'll require. It truly is a testament to how simple ingredients can create something extraordinary.
Effortless Preparation: Melt, Stir, Spread
The beauty of this recipe is its hands-off approach to cooking. There's no need for a candy thermometer or meticulous temperature control.
1.
Prepare Your Pan: Start by lining an 8x8 inch square baking pan with aluminum foil, leaving an overhang on the sides. This overhang will serve as "handles" later, making it incredibly easy to lift the entire batch of fudge out for cutting. Spray the foil generously with cooking or baking spray to ensure absolutely no sticking. Smooth the foil as much as possible to avoid a bumpy bottom on your fudge.
2.
Melt the Chocolate: Place your chosen chocolate chips in a heatproof bowl. Set this bowl over a saucepan containing about an inch or two of simmering water, creating a makeshift double boiler. The gentle, indirect heat will melt the chocolate smoothly without scorching it. Stir occasionally until the chocolate is mostly melted and glossy.
(Alternatively, you can melt the chocolate chips in a microwave-safe bowl in 30-second intervals, stirring well after each, until smooth. Be careful not to overheat.)
3.
Introduce the Condensed Milk: Once your chocolate is smooth and beautifully melted, pour in the entire can of sweetened condensed milk. This is where the magic truly happens! Stir the mixture continuously over the simmering water (or after removing from the microwave) until it is completely combined, thick, and perfectly smooth. It should be a uniform, glossy chocolate-colored mixture. This entire melt-and-stir process is incredibly quick, typically taking just a few minutes. For more detail on this incredible technique, check out our guide on
Ingredient Peppermint Fudge: Melt, Stir, & Enjoy!.
4.
Spread and Top: Immediately pour the warm, thick fudge mixture into your prepared pan. Use an offset spatula or the back of a spoon to spread it evenly to all corners. This is your canvas for the peppermint crunch!
Crushing It: Perfecting Your Peppermint Topping
The vibrant, refreshing peppermint topping is what elevates this simple chocolate base into a true peppermint fudge sensation. It adds not only a burst of minty flavor but also a delightful textural contrast that makes each bite irresistible.
To prepare your peppermint topping:
1.
Unwrap and Bag: Unwrap your peppermint candies or candy canes. This is arguably one of the most tedious parts of the entire recipe, but a small price to pay for such deliciousness! Place the unwrapped candies into a sturdy freezer bag or Ziploc bag.
2.
Crush with Vigor: Lay the bag flat on a hard, sturdy surface. Using a rolling pin, a meat mallet, the bottom of a heavy skillet, or even a clean hammer, gently but firmly crush the candies. Aim for a mix of fine crumbs and small, irregular chunks. You don’t want a powder, but you also don’t want large, tooth-breaking pieces. The variation in size adds visual appeal and a more dynamic crunch.
3.
A Word of Caution: When selecting your peppermint candies, be mindful of colors. Green peppermints, while visually appealing, can sometimes be lime-flavored! Stick to the classic red-and-white variety to ensure that pure, unadulterated peppermint flavor.
4.
Sprinkle Generously: Once crushed, immediately sprinkle the peppermint pieces evenly over the warm fudge. Gently press them into the surface to ensure they adhere well.
Want to get creative? You could also drizzle some melted white chocolate over the top before adding the peppermints for an extra layer of flavor and visual appeal. Or, consider adding a few drops of pure peppermint extract to the fudge mixture itself for an even more intense minty punch before spreading it into the pan.
The Sweetest Wait: Chilling Your Peppermint Fudge to Perfection
You've done the hard work (which wasn't hard at all!). Now comes the true test of patience: waiting for your peppermint fudge to set. While the hands-on prep time for this recipe is minimal, the chilling time is absolutely crucial for achieving that perfectly firm, sliceable, and utterly delectable fudge texture.
1.
Refrigeration is Key: Once the crushed peppermints are in place, transfer the pan to your refrigerator. Do not be tempted to rush this step by placing it in the freezer, as extremely rapid chilling can sometimes affect the texture.
2.
The Three-Hour Minimum: Allow the fudge to chill for at least three hours. During this time, the melted chocolate and sweetened condensed milk will firm up, transforming from a gooey mixture into solid, sliceable fudge. For best results, and if time permits, chilling for 4-6 hours or even overnight is ideal.
3.
Checking for Doneness: You’ll know your peppermint fudge is ready when it feels firm to the touch and no longer yields easily when gently pressed.
4.
Lifting and Cutting: Once completely set, use the foil overhangs to carefully lift the entire slab of fudge out of the pan. Place it on a cutting board. Use a sharp, warm knife to cut the fudge into squares or rectangles. For clean cuts, wipe your knife with a warm, damp cloth between each slice.
5.
Storage: Store your ready-to-eat peppermint fudge in an airtight container in the refrigerator for up to 1-2 weeks. It’s also freezer-friendly; wrap individual pieces tightly in plastic wrap and then foil, and store in a freezer-safe bag for up to 3 months. Let frozen fudge thaw slightly at room temperature before serving for the best texture.
This easy peppermint fudge is a true delight, perfect for sharing, gifting, or simply savoring yourself. Its effortless preparation means you can whip up a batch whenever a craving strikes, making it your
perfect holiday treat, any time of year.
Indulge in Effortless Sweetness
There you have it – the comprehensive guide to making no-fuss peppermint fudge. This recipe shatters the myth that fudge is a daunting endeavor, proving that the most heavenly treats can be astonishingly simple to create. With just a few basic ingredients and minimal hands-on time, you can produce a rich, creamy, and wonderfully minty confection that will impress everyone who tries it. So, whether you're planning for the festive season or simply craving a moment of sweet indulgence, embrace the simplicity and dive into the delicious world of easy peppermint fudge. Your taste buds (and your stress levels) will thank you.